Image: Bernini's The Ecstasy of Saint Teresa
Why Teach Art?
My dream was always to create art.
My mother is an incredible teacher, her father was an incredible teacher, while I felt comfortable with the idea of teaching, I wanted an identity more.
I wanted to become an illustrator and went to a great school for it, but found it wasn't what I wanted.
I found it was very consumer oriented, making art people are going to want to consume and not be confused by. I found I loved art for the freedom and emotion of it, something that was being removed from my environment. This 'identity' wasn't me, so I wanted to focus on helping others find ways to be successful while keeping that emotional aspect to it.
My dream to teach also budded from my personal struggles; my experiences with trauma, mental illness, etc. make me want to become a better person for others.
The chance to give children a safe and comfortable environment to learn how to express themselves/to have fun with art soon became the motivation to get me out of bed on depression-run days.
The Learning Process: Art Style
The skills that come with learning art are transferable to ultimately every other subject out there, especially at it's most basic stages!
The steps to learning (in general) are similar to these:
1. Sticking your thumb out; When an artist sticks their thumb out at arm's length, that's a sign of observation! Assessing the task at hand and evaluating it thoroughly: you can't begin to tackle something you don't have a basic understanding of!
2. Sticking your tongue out; it's the step every artist does subconsciously, usually along with #1. It's a sign of truly taking in what you're seeing and translating it into a way that makes sense to you!
3. Drawing! Taking Action! Taking what you've seen and accurately portraying both what is real and what you, the artist, see that others may not
To accomplish any task, follow these steps! Observe, understand, and take action!
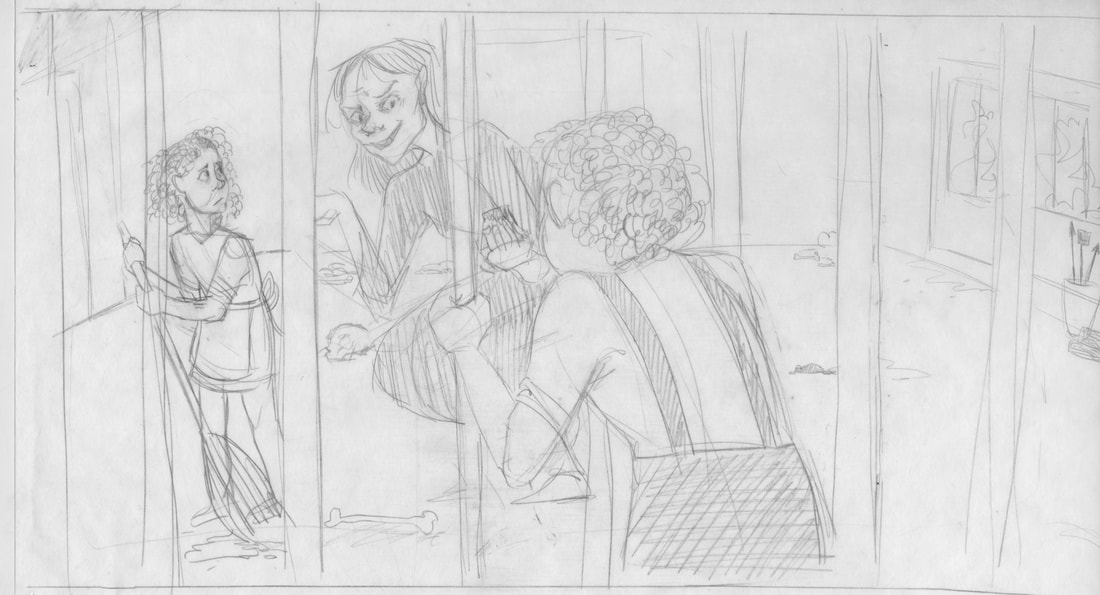
Getting Started from the BeginningWhether it's traditional or digital art, a sketch of what I want to create is essential for me! It's where I get to make sure I'm portraying what I see and in a way I see as effective! Things I consider are perspective, proportion, placement, expressions/mood, etc. |
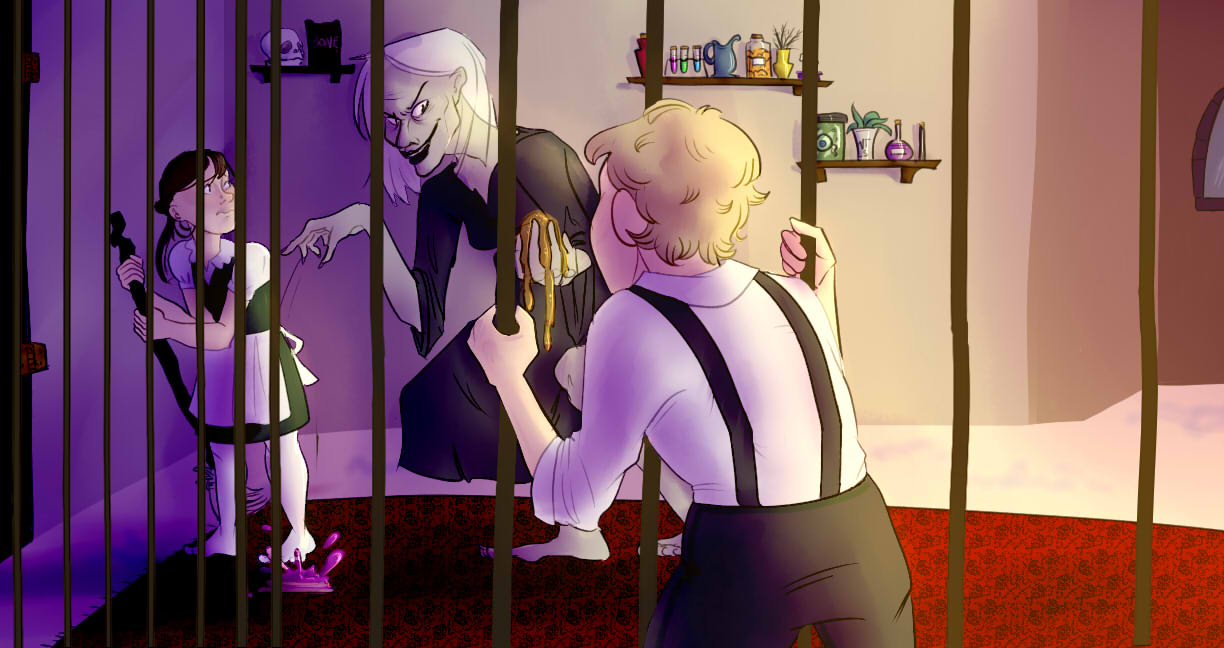
Getting Started with a Blueprint This part of the process includes a lot less conscious thinking! After some minor edits to my scanned/original sketch, I no longer have to focus on the image itself, but how it looks; the line, color, and details like lighting! (tiny intricate background details are super fun) (Part 2 of Illustration Final, Photoshop, F'17) |
Get Started!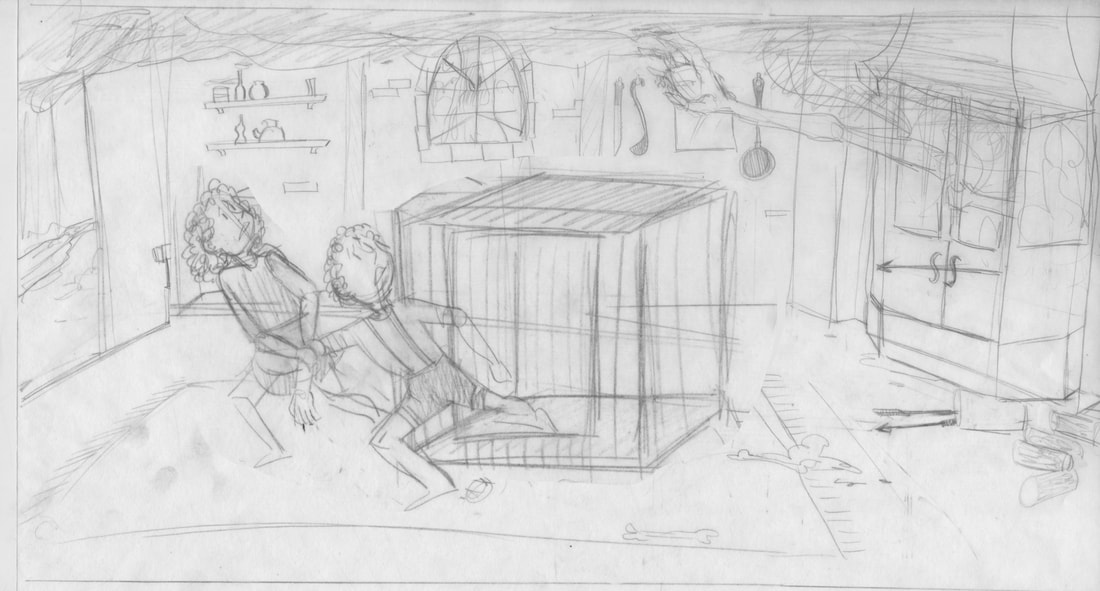
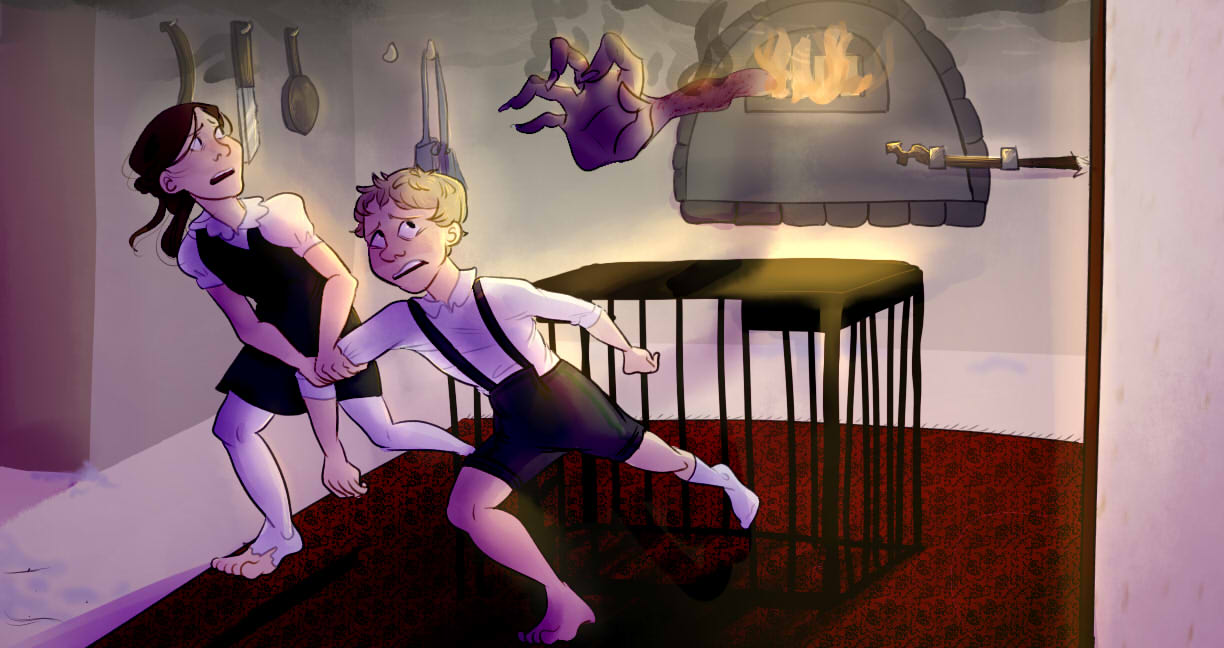
Important Reminder: Your "blueprints" aren't set in stone! In fact, giving yourself distance from your piece and allowing others to critique it with fresh eyes will help your art immensely! Part 3 of Illustration Final, Photoshop, F'17)
|
Practice Makes Perfect!
No one is born with the professional skill to perform any trade; it takes initiative to learn more on your own and courage to push past those first few 'not-so-pretty' attempts.
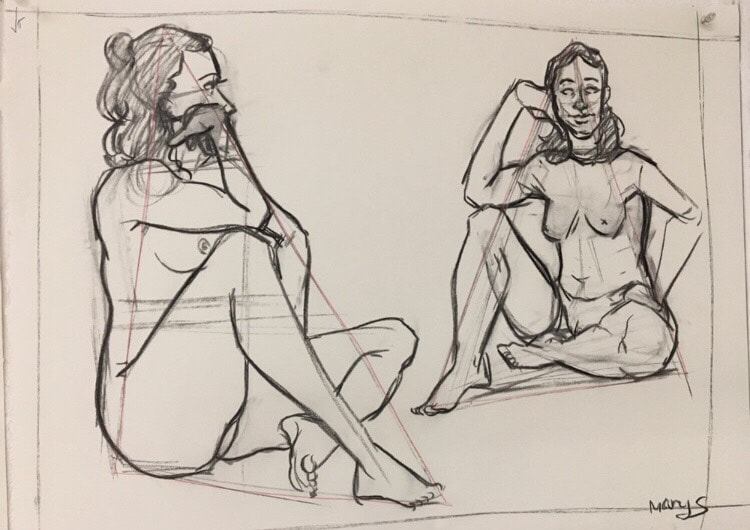
Getting to a professional level takes time and patience, but more important than that you need to get to a level where you meet your own expectations. Embrace your mistakes! They're guides to success (and have even become things I've incorporated into my current style: love ALL of your art!) (Life Drawing 5min sketch, charcoal on newsprint, F'17) |
Make Sure to have FUN!
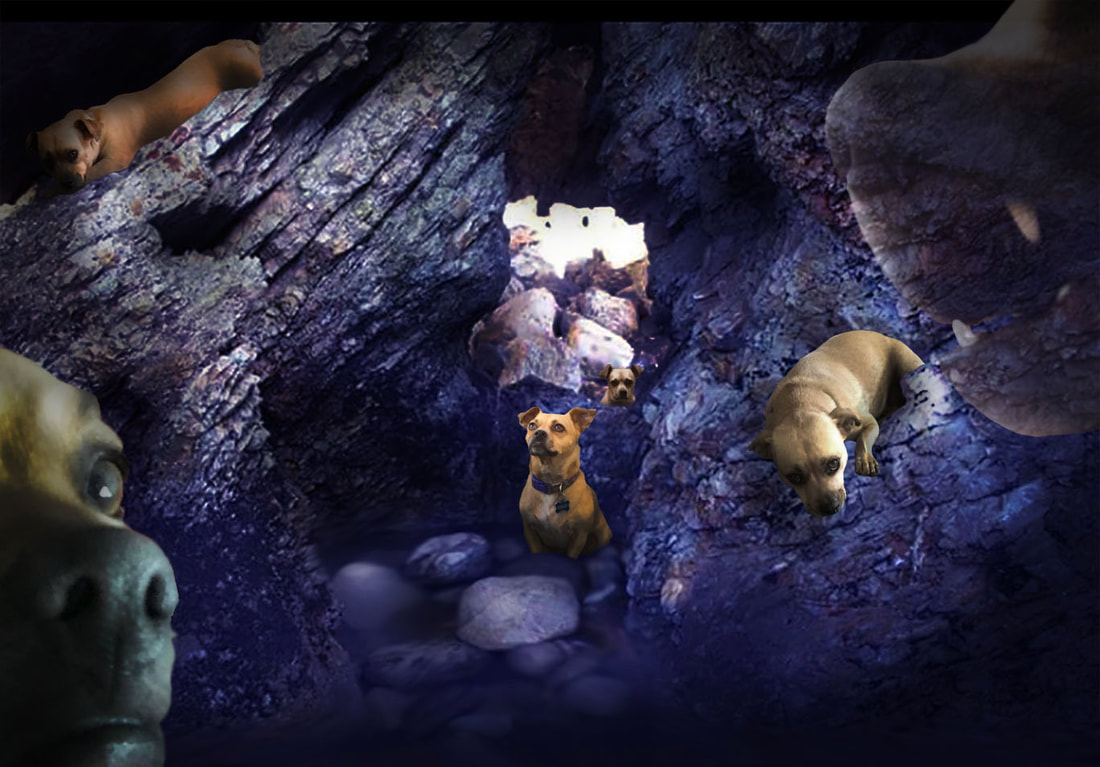
Learn the rules to break the rules! It's important to know basic concepts like perspective, anatomy, etc., but don't forget art doesn't have to be "correct". Sometimes you can be given an assignment to show you know Photoshop and end up putting about 5 images of your dog into a cave you found. (Photoshop, F'18)
|
More on My Process:
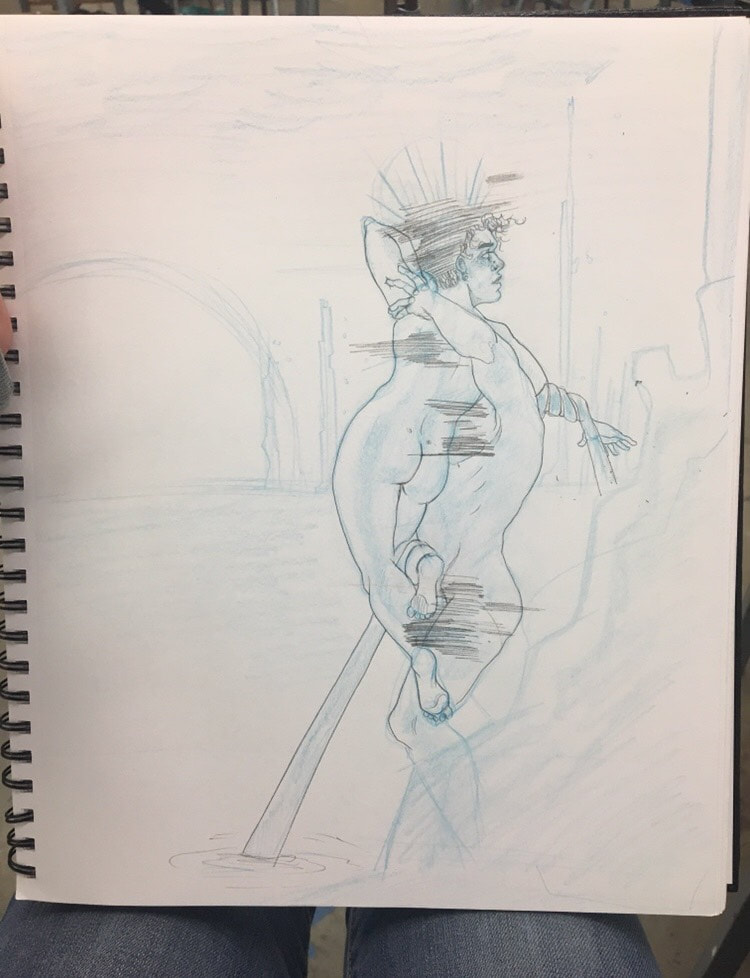
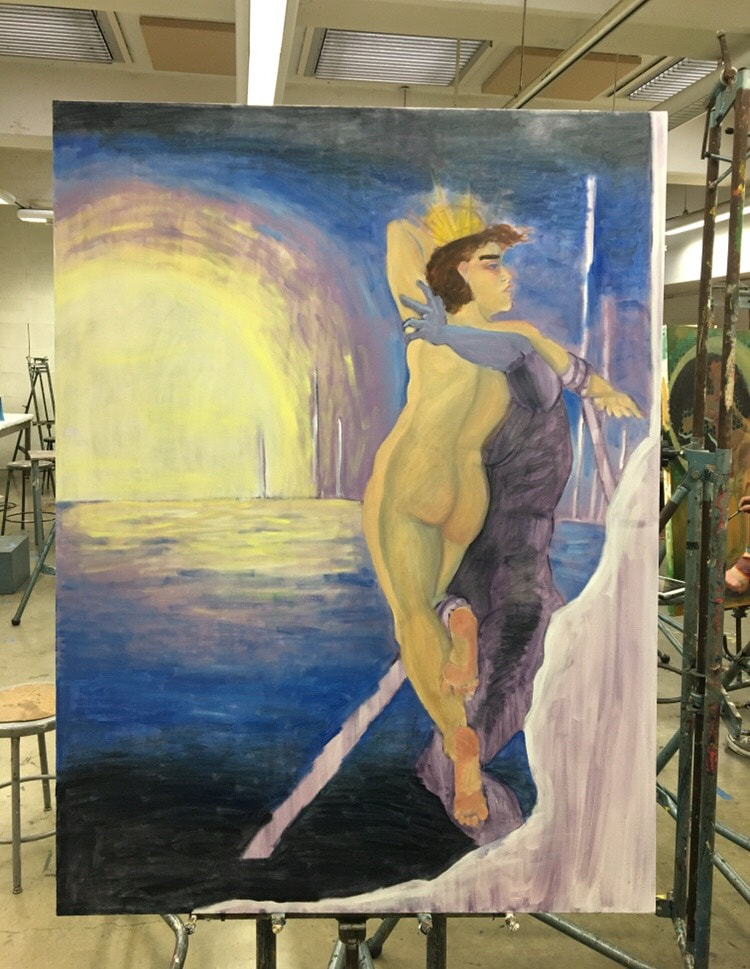
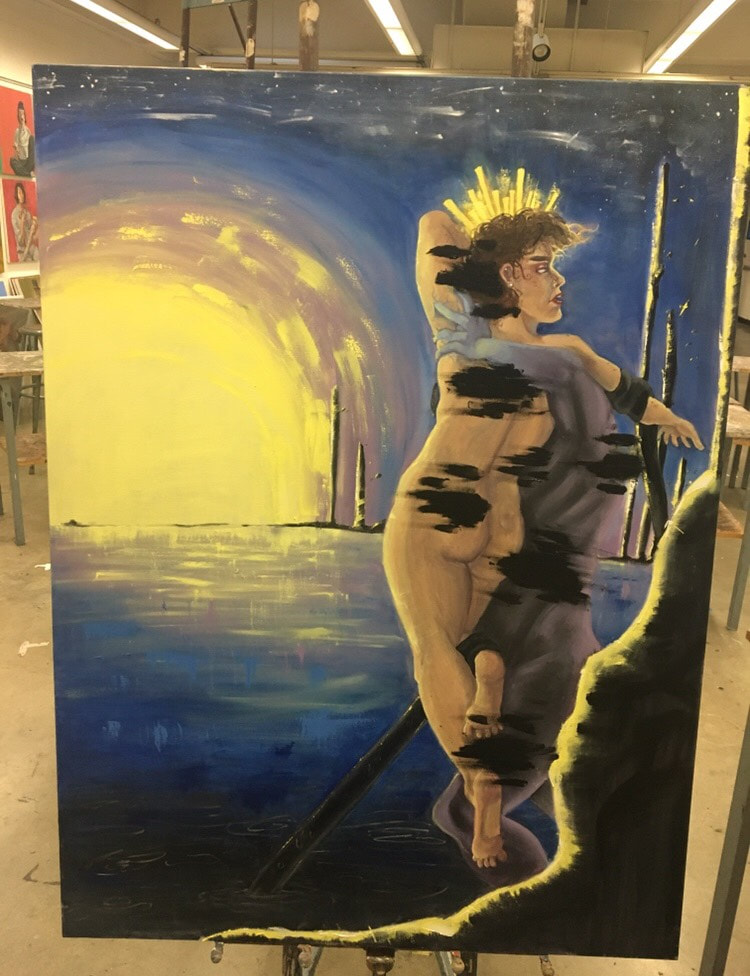
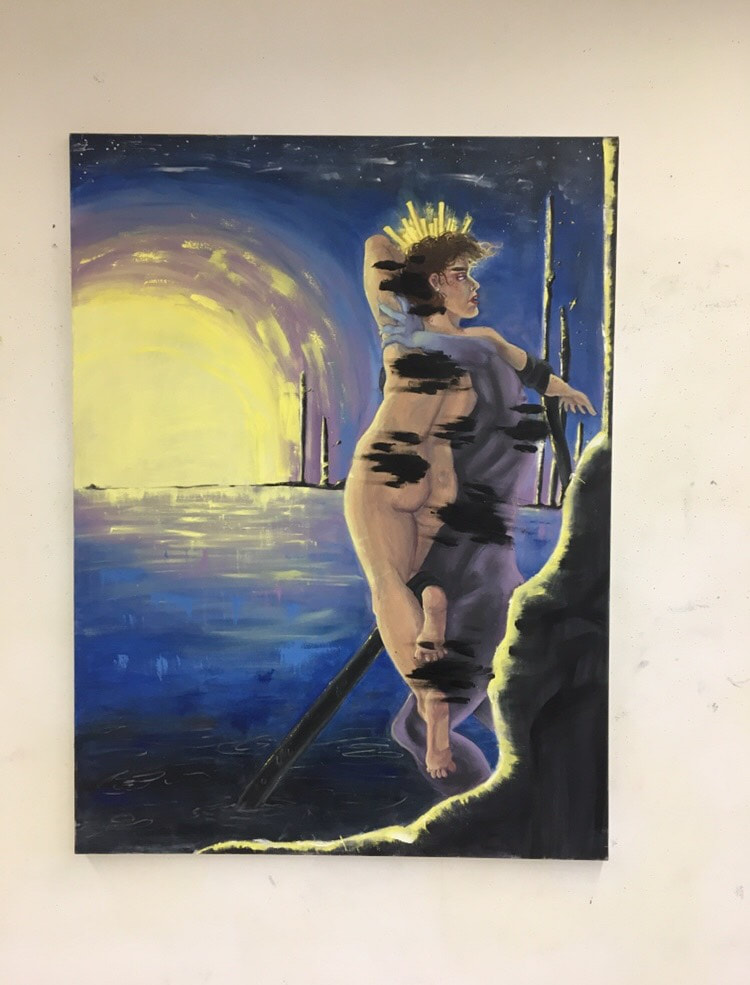
Here is a series of photos documenting the process of creating my Intro to Painting final; the pose inspired by Bernini's Ratto di Proserpina.
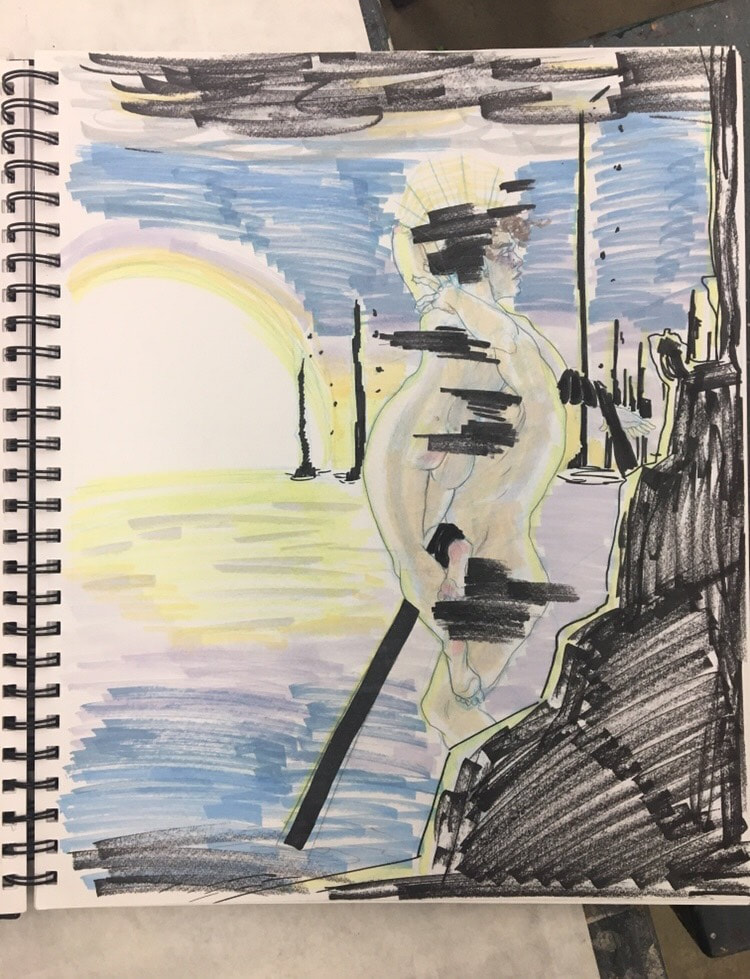
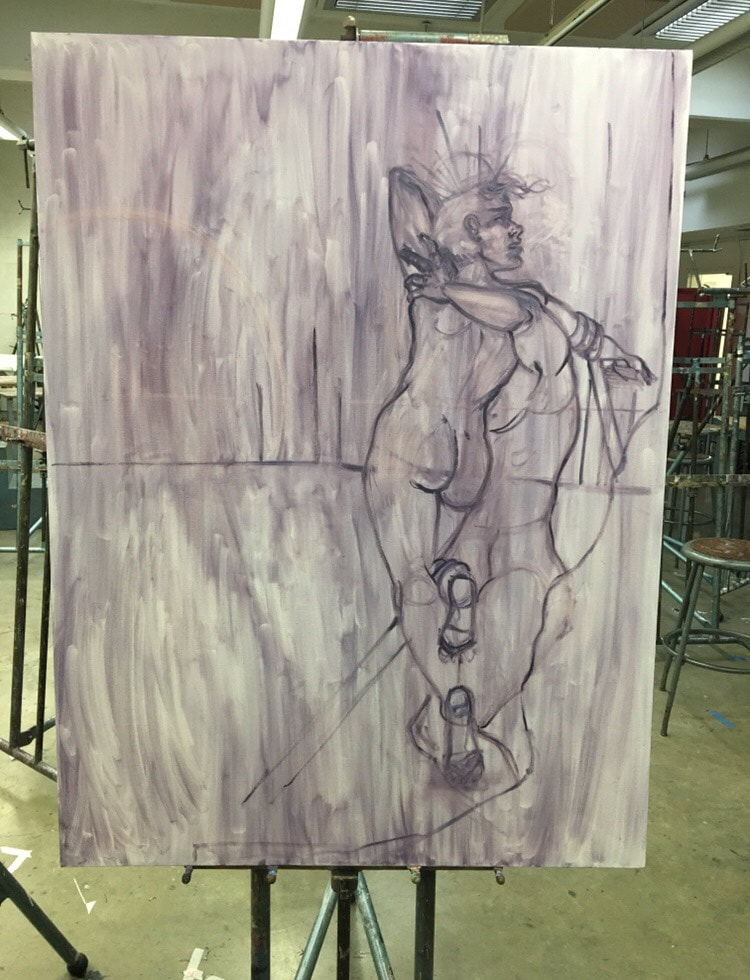
I started with a simple pencil sketch, only the objects of the painting having darker lines for contrast as a way to help me see my painting in pieces: the living and the background/lighting. Second is the coloring of the sketch. This step is very important, it gives you an idea of which colors actually work together 'on paper' and not just in your head! Following that is the under-painting and sketch. I chose purple for my under-painting with the mindset of the blue tones and red tones being more prominent since I drew skin tones a bit more yellow.
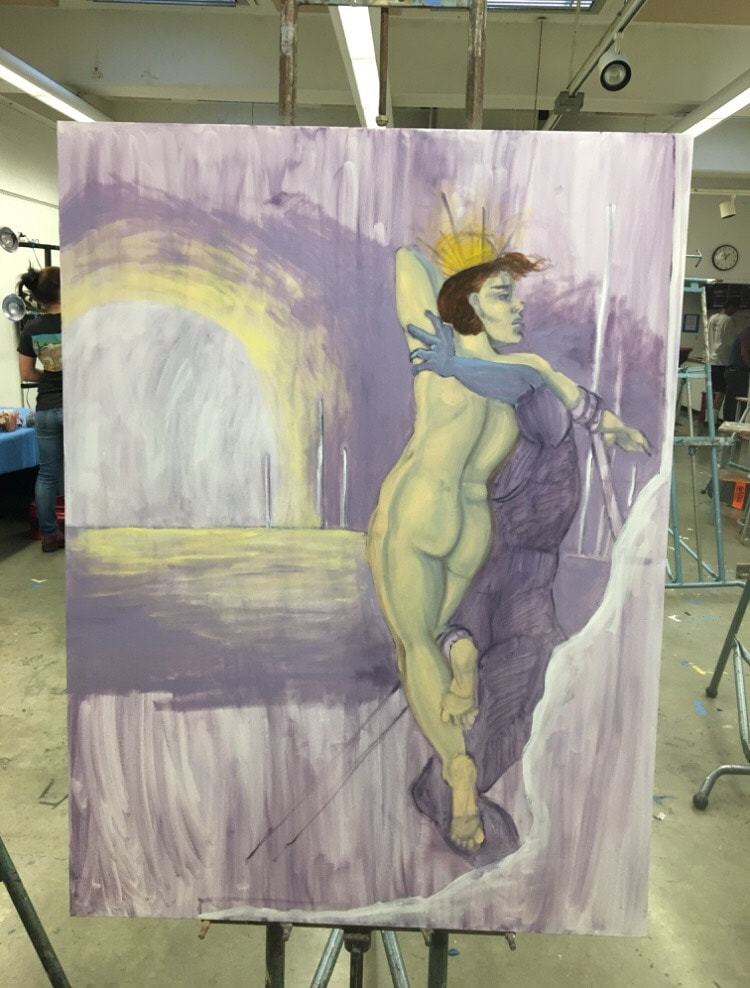
Then the basic colors (starting with the lightest colors first), Basic colors of all colors/tones, and my painting more fine-tuned.
The last picture is my piece, finished, and hanging in our make-shift gallery!
I started with a simple pencil sketch, only the objects of the painting having darker lines for contrast as a way to help me see my painting in pieces: the living and the background/lighting. Second is the coloring of the sketch. This step is very important, it gives you an idea of which colors actually work together 'on paper' and not just in your head! Following that is the under-painting and sketch. I chose purple for my under-painting with the mindset of the blue tones and red tones being more prominent since I drew skin tones a bit more yellow.
Then the basic colors (starting with the lightest colors first), Basic colors of all colors/tones, and my painting more fine-tuned.
The last picture is my piece, finished, and hanging in our make-shift gallery!